![]()
| Prev | Getting Started with Pervasive.SQL (Server edition) | Next |
Upgrading to Pervasive.SQL Server from Earlier Pervasive.SQL Versions or Btrieve 6.x
You must install the Pervasive.SQL Server upgrade for Windows at the server itself; you cannot install it remotely from a client machine.
Note
If the installation fails before the program copies any files to the target installation directory, the installation log file (install.log) can be found in the directory specified by the %TEMP% environment variable. This directory is often c:\windows\temp or c:\winnt\temp.
To upgrade to Pervasive.SQL V8 (Server Edition) on a Windows machine:
Please see Installation Tips regarding the Pervasive.SQL V8 Setup Reboot Required dialog box.
The setup Welcome screen appears. Click Next to proceed with the installation.
- Certain programs and services on Windows can interfere with the Pervasive.SQL installation process. The Pervasive.SQL installation program detects these programs if they are running during your installation and informs you so that you can stop the programs. Doing so ensures that your installation completes successfully.
Skip to Step 3 if you do not see a screen similar to Figure 5-2.
Figure 5-2 Detection of Programs Running During Installation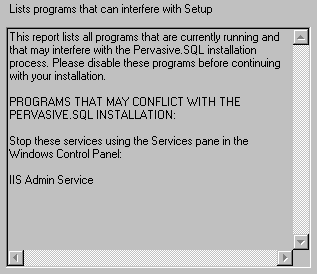
There are two categories of programs detected by the installation program:
An example of a program in this category is one that utilizes the Pervasive.SQL Workgroup engine. If you are running such a program, Figure 5-3 displays if you try to continue without stopping the program.
Figure 5-3 Programs in Conflict with Installation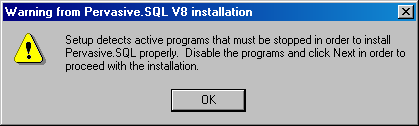
Examples of programs in this category include such products as Microsoft Internet Information Service (IIS) and others that can potentially lock system files.
If you try to continue the installation without stopping the listed programs, Figure 5-4 displays and asks for confirmation to stop the conflict detection process. If you want the installation program to check for conflicts again, click Yes. If you want to continue the installation despite the possible conflict, click No.
Figure 5-4 Programs that May Conflict with Installation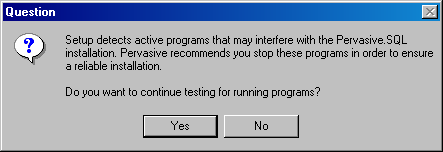
- Read and accept the Software License Agreement
Figure 5-5 Pervasive Software's Software License Agreement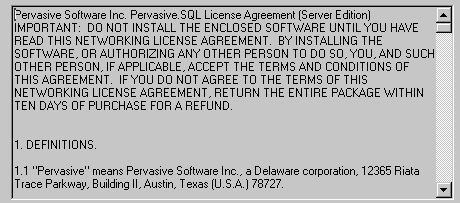
Read the Pervasive Software License Agreement. Click Yes to accept the terms of the agreement and continue installation.
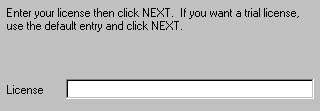
Your Pervasive.SQL V8 server is set to the number of users specified in the license key. When the update is complete, a dialog box informs you that you have increased your user count license to support that number of simultaneous users.
If you do not yet have a license key or it is not with you at the moment, you can still continue with the installation. Click Next at the License Key dialog box to install a trial version and run the License Administrator utility at a later time to install a user count license key. The License Administrator utility is documented in Pervasive.SQL User's Guide in the section License Administrator .
Click Next to continue with installation.
Notes About Complete Setup
The Complete installation, which is recommended for most first time users, takes default actions for most operations performed during the installation.
The Complete server installation installs the following components:
- Pervasive.SQL V8 engine (including ODBC interface)
- All possible client requesters (MS-DOS and Win32 Requesters)
- Utilities
- Transactional and Relational interfaces
- Client installation copies
- Online Documentation
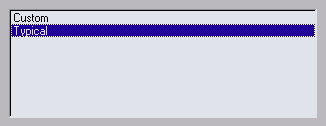
Notes About Custom Setup
The Custom installation is typically for advanced users since it lets you choose the components you want to install and specify the program folder name.
Selecting Custom setup type allows you to specify the program folder, select the components to install, and set the Pervasive.SQL V8 engine service start mode.
During a Custom server installation, the following components are optional:
If you choose a custom install, skip now to Custom Installation Path . At the end of that section you will return to this section to continue the installation.
- Select the server installation directory.
The default installation location for Pervasive.SQL V8 is C:\PVSW, assuming the Windows system drive is C:\.
Figure 5-8 Select Your Installation Directory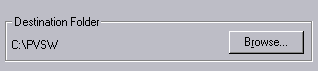
Click Next to accept the default installation directory and proceed with the installation.
To select a different directory, click Browse and select or enter the new installation directory. If the folder you have chosen doesn't exist, you'll need to answer Yes to have setup create the folder for you.

If the displayed selections are correct, click Next to continue.
- Scan for previous Pervasive.SQL files.
If you had a previous version of Pervasive.SQL on your system, Pervasive System Analyzer archives it before copying the updated Pervasive.SQL V8 files.
Figure 5-10 System Analysis Using PSA
- Pervasive.SQL setup begins to copy the necessary files to complete your specified installation requirements.
Figure 5-11 Setup Begins Copying Files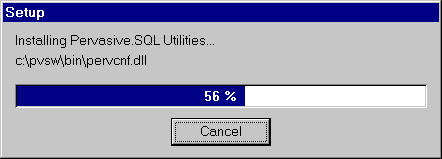
Only click Cancel if you want to stop installation and exit the Setup process.
- Your Pervasive.SQL V8 server upgrade is complete.
The following dialog box informs you that the installation is complete.
Figure 5-12 Installation Complete Dialog Box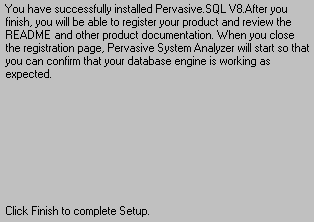
- If installed files could not be copied because they were locked in memory, a reboot may be necessary at this point. Setup only prompts for a reboot if a locked file or some other event was detected that requires a reboot. Please reboot your system if prompted to do so in order to ensure proper operation of your Pervasive.SQL V8 product.
Figure 5-13 Installation Complete - Need Reboot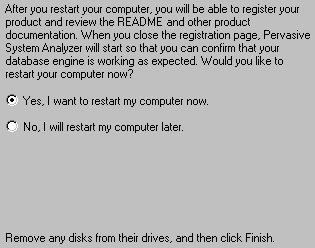
If you have any trouble with the installation, see Chapter 21, Troubleshooting After Installation.
The installation program modifies the PATH and CLASSPATH environment variables at the end of the installation process, if needed. These settings control how your Windows operating system finds Pervasive components. In Windows, these environment variables are stored in the Control Panel under the Environment tab on the System icon. In Windows 2000, these environment variables are stored in the Control Panel under the Advanced tab on the System icon.
Post Installation
- Register your product.
After you have completed your Pervasive.SQL installation, you can register your product to receive news about future updates, and other timely information. You can also register later using a web, e-mail, or print-based registration form.
Figure 5-14 Product Registration Page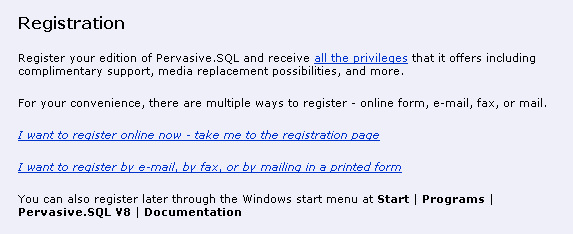
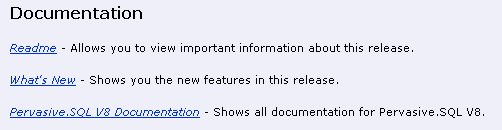
If you did not read the README file prior to installation as described in Before You Begin , please do so now from the registration page.
- Close the Registration page. Next the Pervasive System Analyzer (PSA) launches its tests of the transactional and relational interfaces. These tests ensure that your database engine is working as expected after installation.
- Test the Transactional Engine
PSA performs a series of tasks to ensure that the transactional engine is working properly.
Figure 5-16 Transactional Engine Test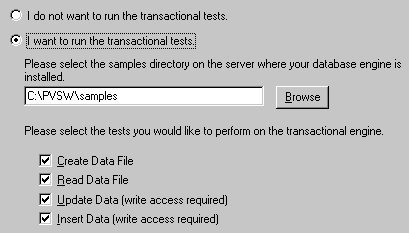
It is recommended that you perform this test to ensure that the transactional engine is communicating properly and the transactional databases are now functional.
- Run the Transactional Test.
PSA displays a check mark for each test that passes and an X for each task that fails during the transaction engine test. A summary report is also provided in the information window, as shown in the following figure.
Figure 5-17 Transactional Engine Test Results from PSA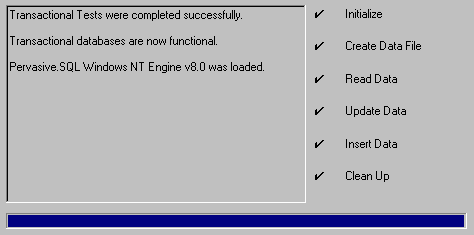
Once your transactional engine tests are complete, click Next to test the relational engine.
- Test the Relational Engine.
PSA performs a series of tasks to ensure that the relational engine is working properly.
Figure 5-18 Relational Engine Test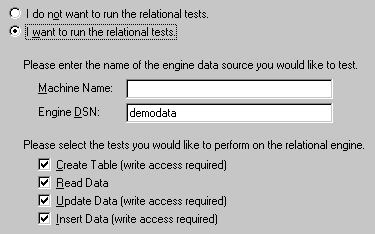
It is recommended that you perform this test to ensure that the relational engine is communicating properly and the relational databases are now functional.
- Run the Relational Test.
PSA displays a check mark for each test that passes and an X for each task that fails during the relational engine test. A summary report is also provided in the information window, as shown in the following figure.
Figure 5-19 Relational Engine Test Results from PSA
Once your relational engine tests are complete, click Next to finish the installation.
What to do Next
Skip the next section for custom installations and see Common Questions After Installing Pervasive.SQL .
| Prev Before You Begin |
Contents Up Check for Revisions | Next Custom Installation Path |